HELLO. I’m so excited to share my build log of my first custom mechanical keyboard!
So, way back in August 2016, I joined a group buy of a new keyboard from Sentraq, called the S60-X. It’s a 60% keyboard, which means it has about 60% of the keys of a fullsize 104-key keyboard. It doesn’t have the normal function row nor the arrow keys. Which will be made up for via keyboard layers. I’ll get more into that later.
So, first I’ll talk about building the board!
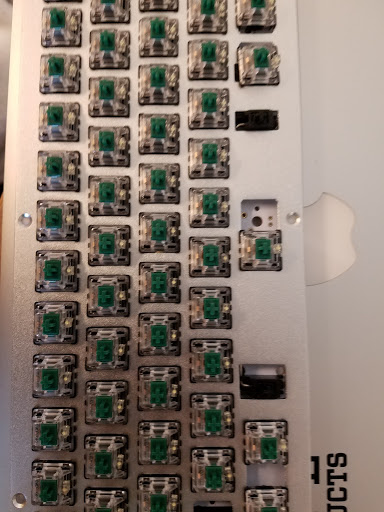
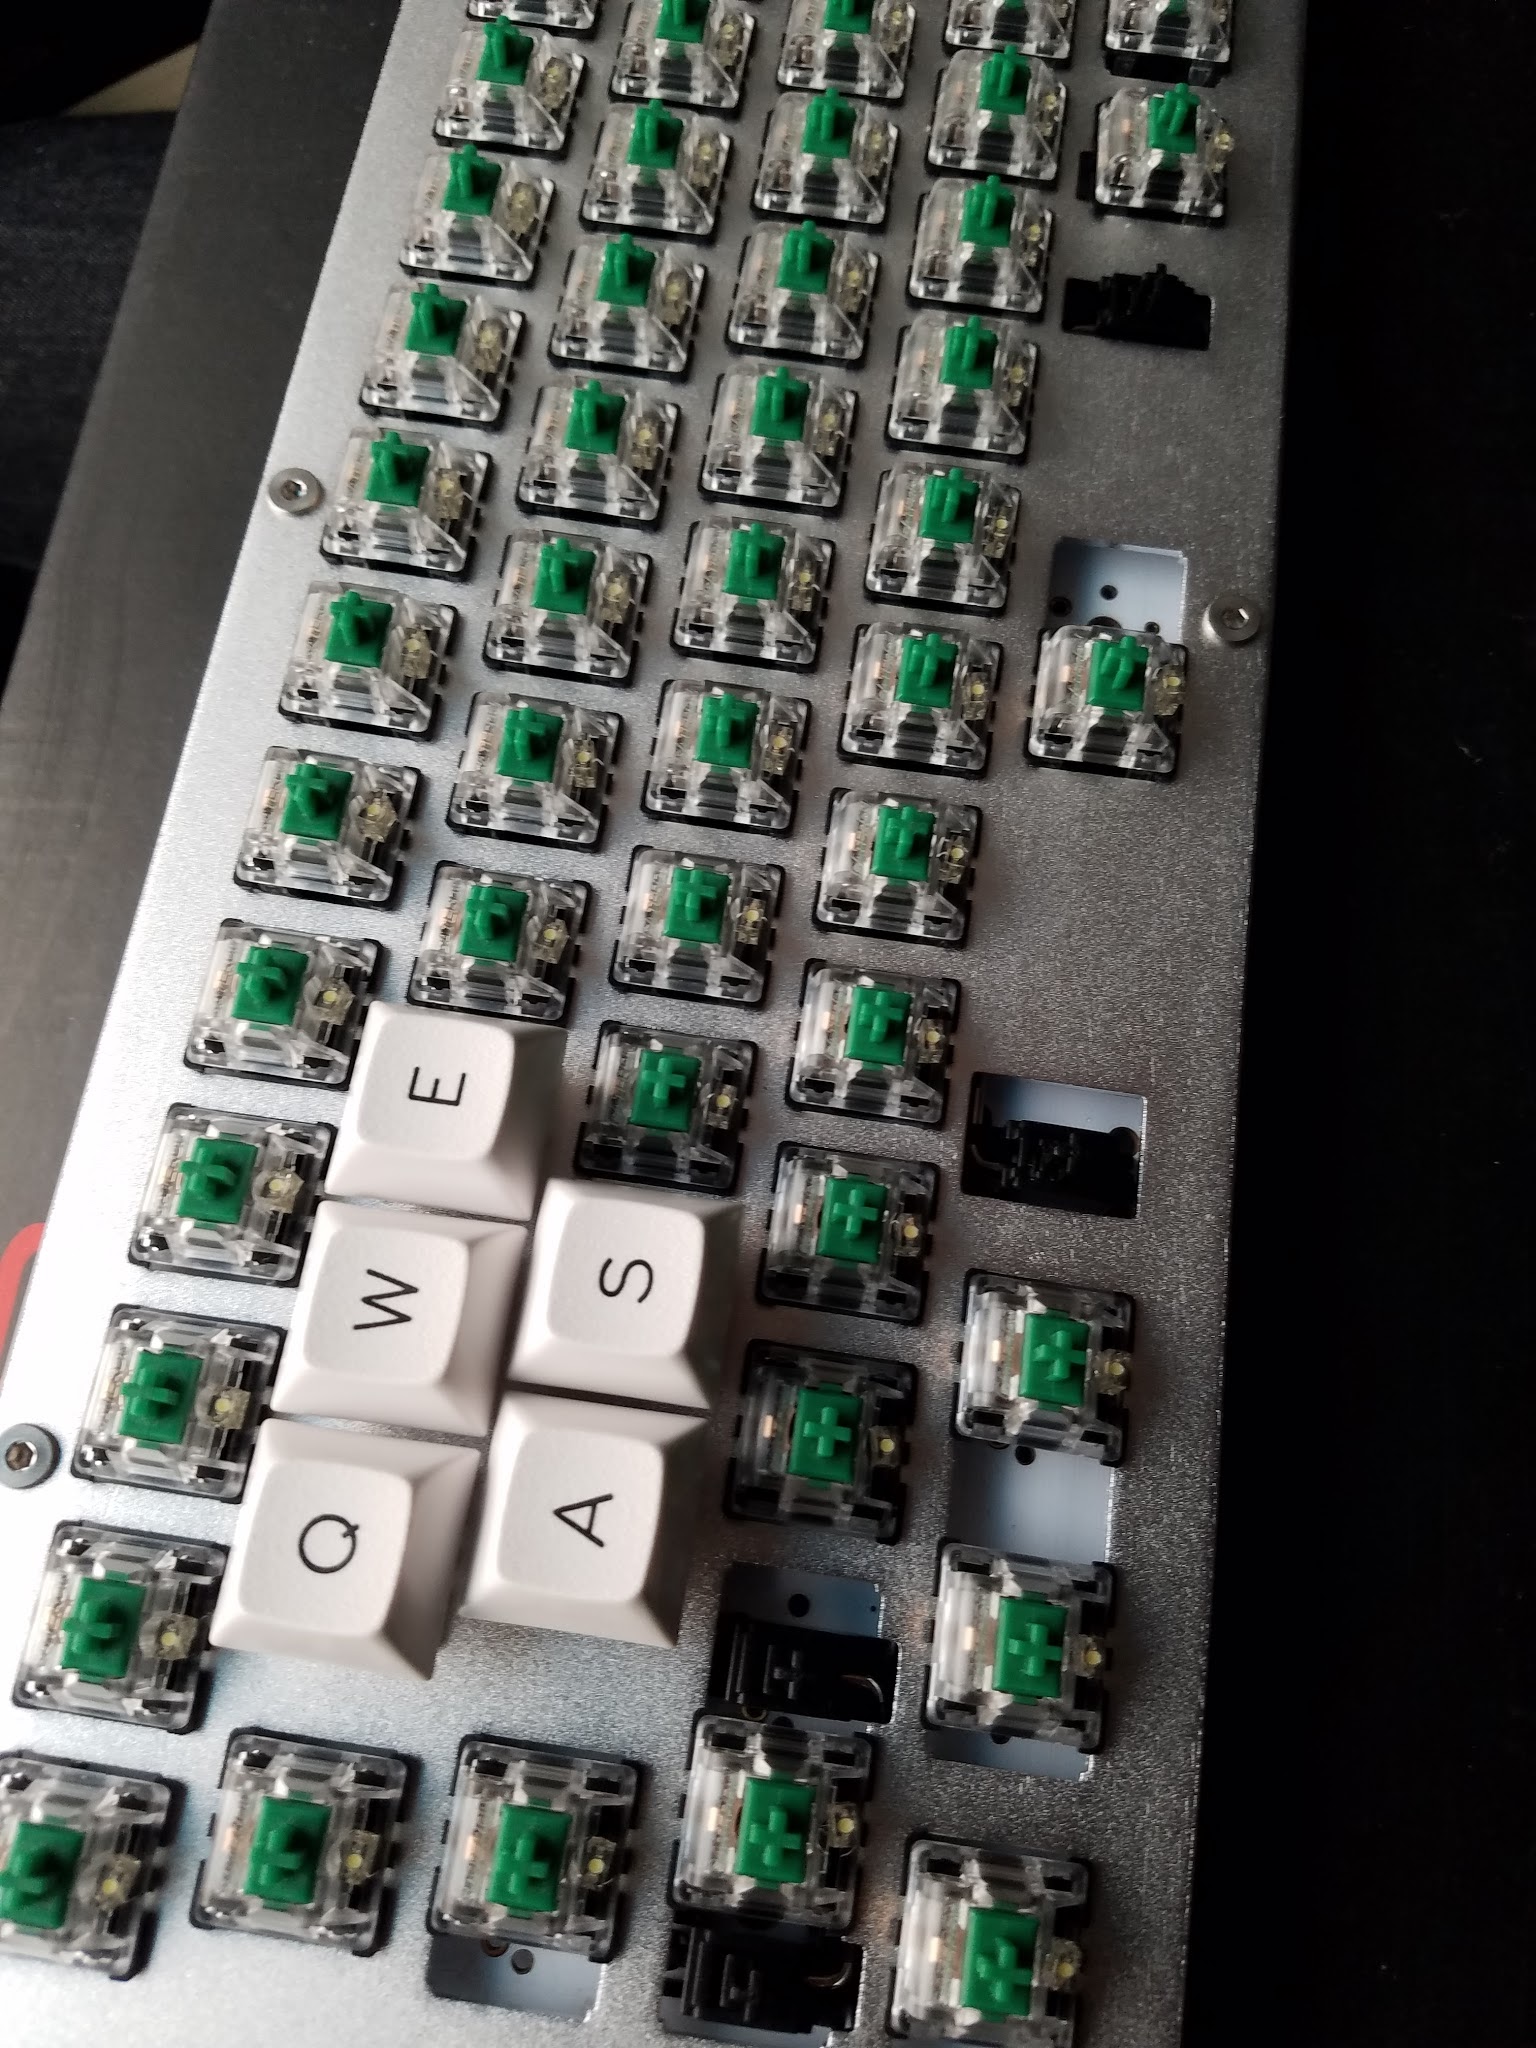
First, the unboxing! Inside the box was Gateron Green switches (I wanted some that were both clicky and tactile), switch stabilizers, a PCB, a back plate, a front plate, LEDs, and feet. There were also some blank keycaps (that I didn’t end up using, but were nice to have).
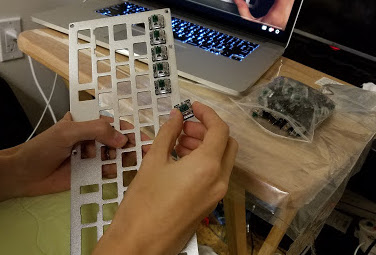
The first step was to add the switches to the front plate.
Once the switches were mostly added, I had to put together and add the stabilizers. That part was SO frustrating. This build guide completely saved my sanity in figuring out how to put them together. The stabilizers are for the wider keys, so that they are, you guessed it, stable when used.
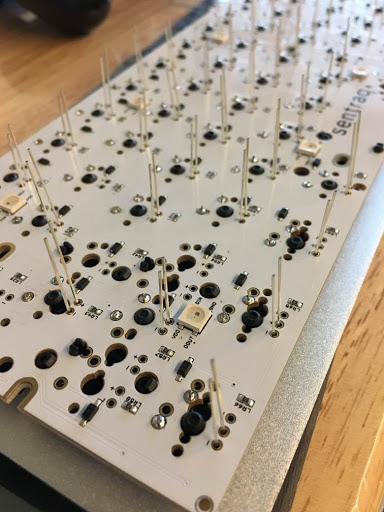
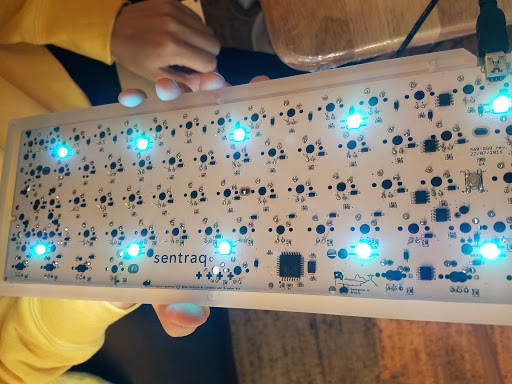
After adding all of the switches and stabilizers, it was soldering time. I had never actually soldered anything before, but luckily my boothang Joe did. Conveniently, the PCB lined up with the front plate switches perfectly, so it was just a matter of lining up the holes with the pins in the switches. The LEDs also fit well too:
After soldering, we tested the PCB by just plugging it in to make sure it detected everything. It didn’t get the Backspace button which resulted in us re-soldering it, which we later found out was a firmware issue. Whoops.
But hey look, the backlights worked!
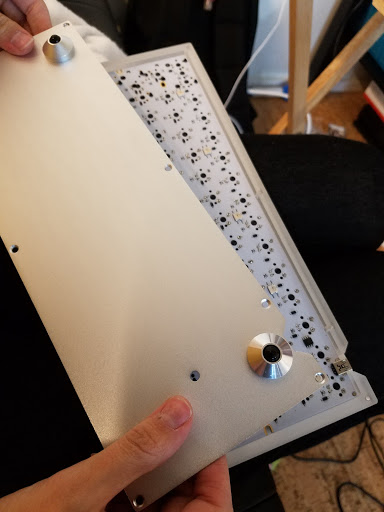
Anyway, once the soldering was done, it was time to put the case on!
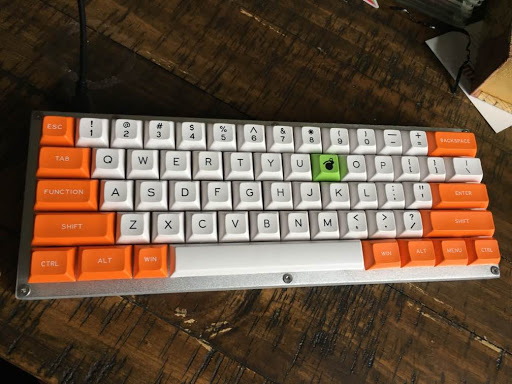
And now, my favorite part, it was keycap time. I bought a DSA Overcast keycap set from a Redditor. DSA refers to the profile of the keycap, but I’ll save you the explanation of the different types.
But, as I added the keycaps, I realized that the Redditor didn’t send me a whole set! I was missing the letter I key. Conveniently though, I did also buy some fun lime green keys, so I added a bomb key on the letter I. Because I am the bomb.
And DONE. At least with the hardware part. Now I had to program the board. This part came with pretty much zero instruction, so it was a combination of a LOT of sources that it came together. Because there wasn’t a central source, let this blog serve you as the central source of all of the information I found!
So first, I tried Windows with Atmel FLIP, and just flashing some default firmware to start. My computer was NOT working with that method. It worked on Joe’s computer, though, which is weird.
As a result I got frustrated and tried OS X instead, and that worked! The software I needed was dfu-programmer, and QMK Firmware. Here’s what I did to install things step-by-step:
$ brew install dfu-programmer
$ brew tap osx-cross/avr
$ brew install avr-libc
$ git clone
Easy peasy. Now I went into the qmk_firmware folder, then into keyboards,
and there you can use one of two folders, either /S60RGB, or /s60-x. I
honestly can’t tell you the difference between them. LOL. Anyway. In that
folder, copy the keymap.c file into another folder in the /keymaps directory.
I just called it custom.
Now it’s editing time! All the keycodes you might want are on this page. All the keycodes EXCEPT the LEDs. I’ll get to that in a second.
You can go to /keymaps/custom (or whatever you named your folder) and edit
keymap.c. My changes were minor, in the second layer (which is toggled via
my Function key with which I replaced Caps Lock) I made HJKL the arrow keys
(because I use vim and vim is great), M for Mute, and < and > for volumes down and
up.
Now not listed in the keycode link I listed above are the keycodes for the LEDs and the backlight. They are RGB_TOG, RGB_MOD, RGB_HUI, RGB_HUD, RGB_SAI, RGB_SAD, RGB_VAI, and RGB_VAD. I ended up making my numbers on the second layer all of these. In case you want to see what I did, here you go:
[_BL] = KEYMAP(
  F(0),    KC_1,   KC_2,   KC_3,   KC_4,   KC_5,   KC_6,   KC_7,   KC_8,   KC_9,   KC_0,   KC_MINS,  KC_EQL,   KC_DEL, KC_BSPC, \
  KC_TAB,  KC_Q,   KC_W,   KC_E,   KC_R,   KC_T,   KC_Y,   KC_U,   KC_I,   KC_O,   KC_P,   KC_LBRC,  KC_RBRC,  KC_BSLS, \
  MO(_FL),   KC_A,   KC_S,   KC_D,   KC_F,   KC_G,   KC_H,   KC_J,   KC_K,   KC_L,   KC_SCLN,KC_QUOT,            KC_ENT,  \
  KC_LSFT,         KC_Z,   KC_X,   KC_C,   KC_V,   KC_B,   KC_N,   KC_M,   KC_COMM,KC_DOT, KC_SLSH,            KC_RSFT,  \
  KC_LCTL, KC_LGUI,KC_LALT,          KC_SPC,                                        KC_RALT,  KC_RGUI, MO(_FL),  KC_RCTL),

[_FL] = KEYMAP(
  KC_GRV, RGB_TOG, RGB_MOD, RGB_HUI, RGB_SAI, RGB_SAD, RGB_VAI, RGB_VAD, BL_TOGG, BL_DEC, BL_INC, BL_STEP, KC_TRNS, RESET, KC_TRNS,  \
  KC_TRNS,KC_TRNS,KC_TRNS,  KC_TRNS,KC_TRNS,KC_TRNS, KC_TRNS,KC_TRNS,KC_TRNS, KC_TRNS,   KC_TRNS,   BL_DEC,   BL_INC,   BL_TOGG, \
  KC_TRNS,KC_TRNS,KC_TRNS,KC_TRNS,KC_TRNS,KC_TRNS,KC_LEFT,KC_DOWN,KC_UP, KC_RIGHT, KC_TRNS,    KC_TRNS,              KC_TRNS, \
  KC_TRNS, KC_TRNS,  KC_TRNS,  KC_TRNS,  KC_TRNS,  KC_TRNS,  BL_TOGG,  KC_MUTE, KC_VOLD, KC_VOLU, KC_TRNS, KC_TRNS,  \
  KC_TRNS,KC_TRNS,KC_TRNS,          KC_TRNS,                               KC_TRNS, KC_TRNS, KC_TRNS, KC_TRNS),
};
Thanks so much /u/MaltMilchek for the help here!
Now, once all of the keycodes were put in, I saved keymaps.c and went to the enclosing folder with the Makefile in it, and ran:
$ make custom
If you named your folder something besides custom, do that instead.
Now, to actually flash the firmware, go to the parent /qmk_firmware folder,
and go to the /.build folder there. Press the reset button on the back of the
keyboard for about 3 seconds, and then in the terminal run:
$ dfu-programmer atmega32u4 erase
$ dfu-programmer atmega32u4 flash S60RGBcustom.hex
Your file might be named something else other than S60RGBcustom.hex, but just make sure that it’s a .hex file.
Now unplug and replug the keyboard, and you’re all set!
This process took me SO LONG, so hopefully this might be helpful for you.
Here’s the final shot of my board!
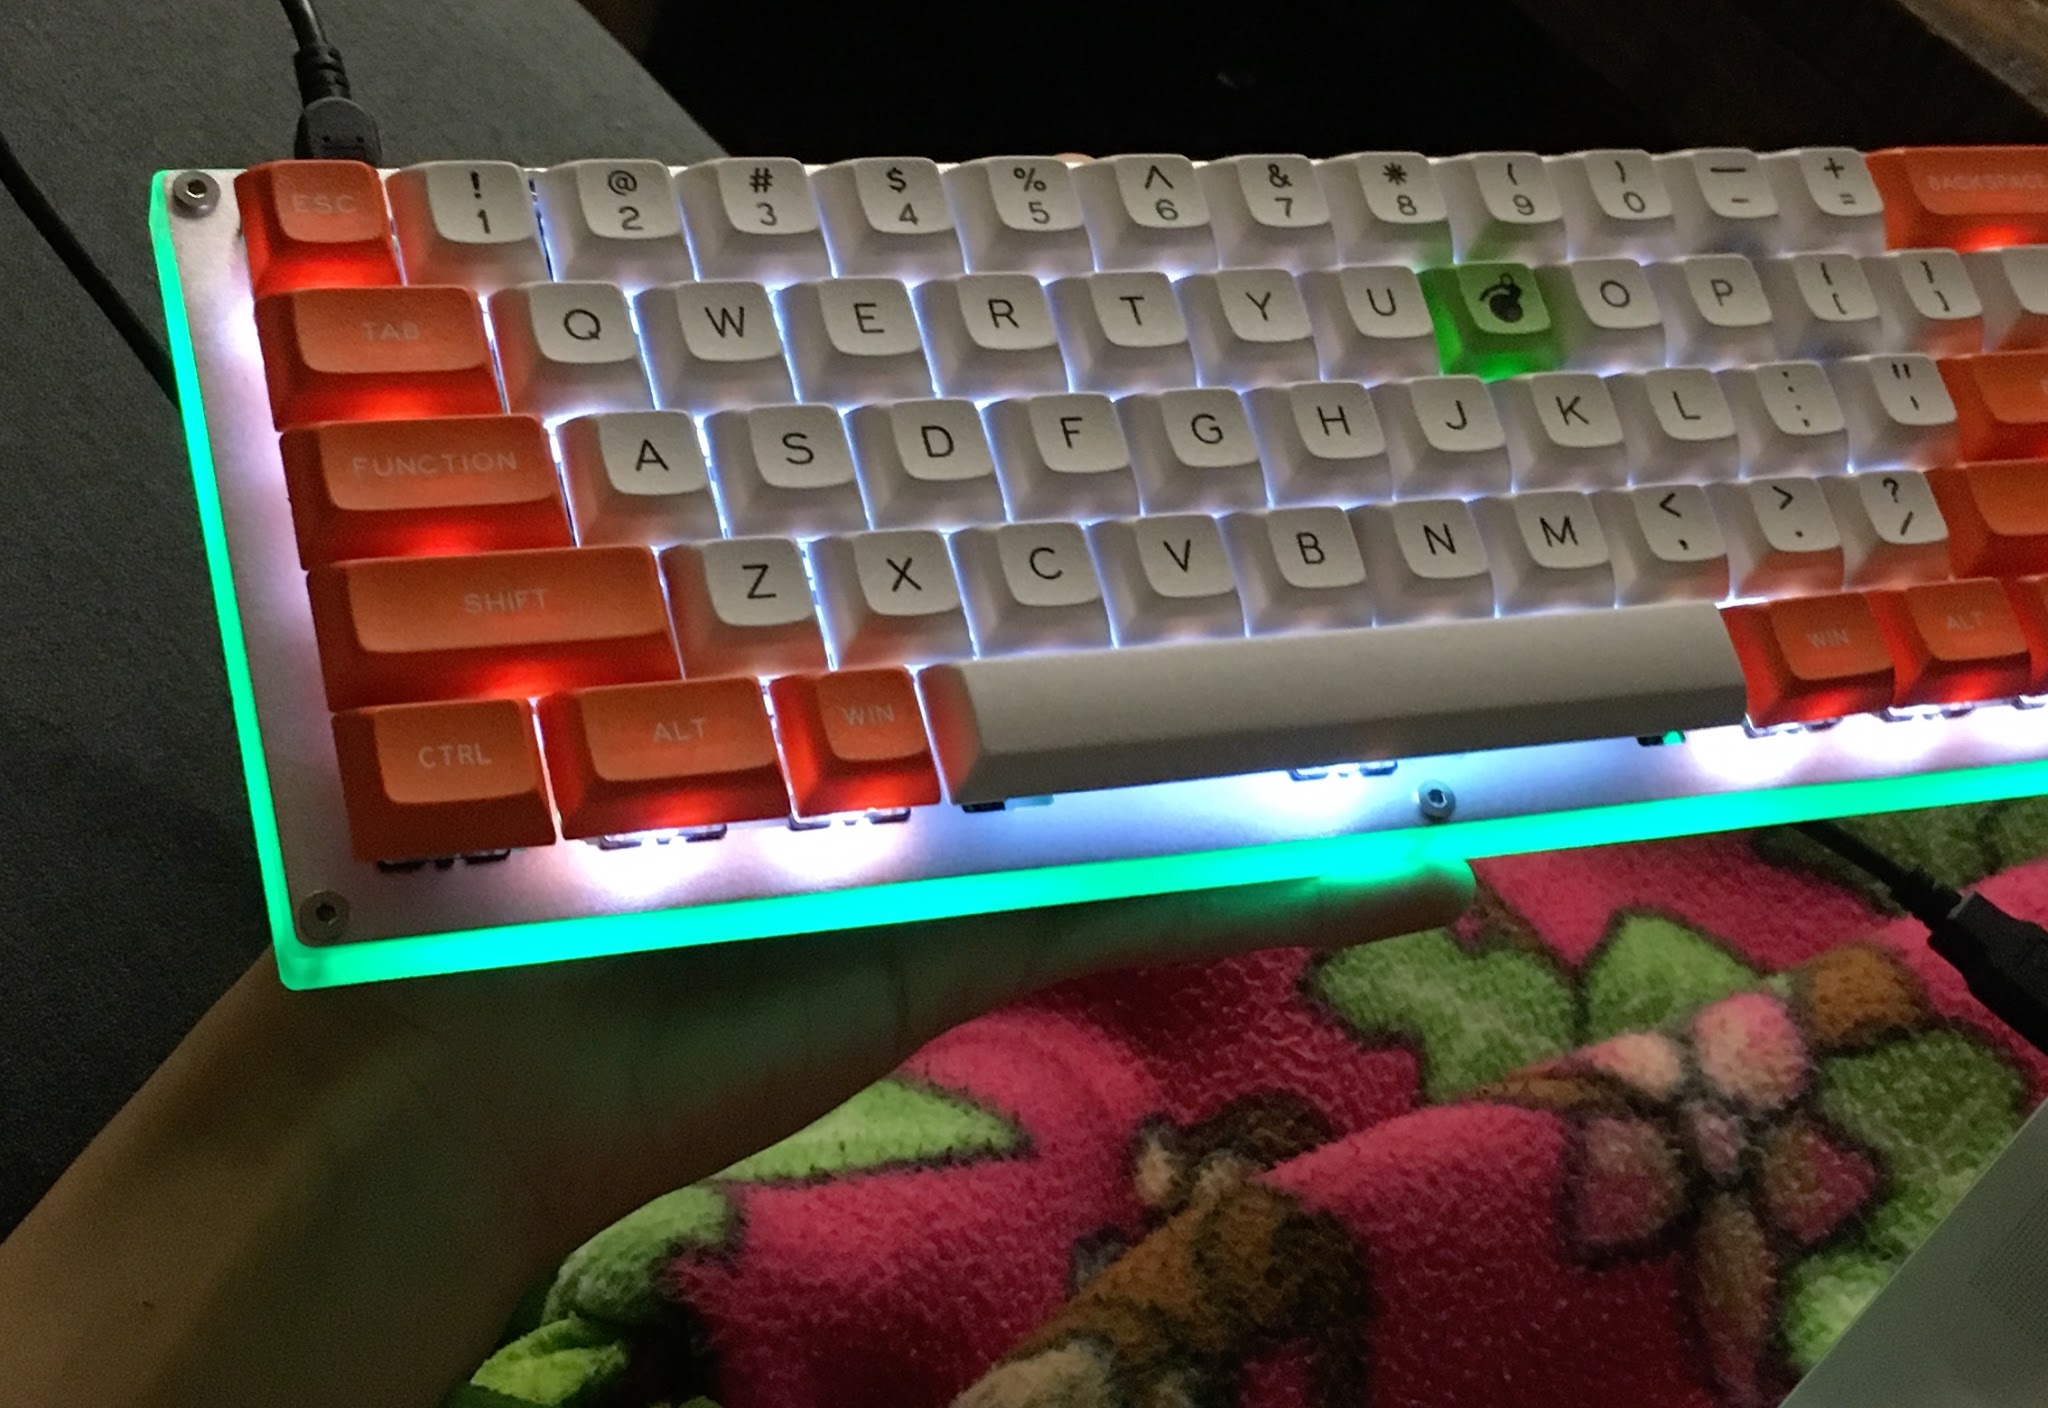
It was a BLAST putting this together. Definitely frustrating at times, but I’m super happy with the final product. Plus with the configuration above, I’m able to toggle through different colors and change up the keycaps to match. RIP wallet.
Thanks to everyone at /r/MechanicalKeyboards for being so helpful! Hopefully this will be useful to someone, too. :)